


Templates
Tools
Learn
Company
Home
Blog
Vintage
How to Create an ’80s Retro Poster Design | Design Tutorial
How to Create an ’80s Retro Poster Design | Design Tutorial
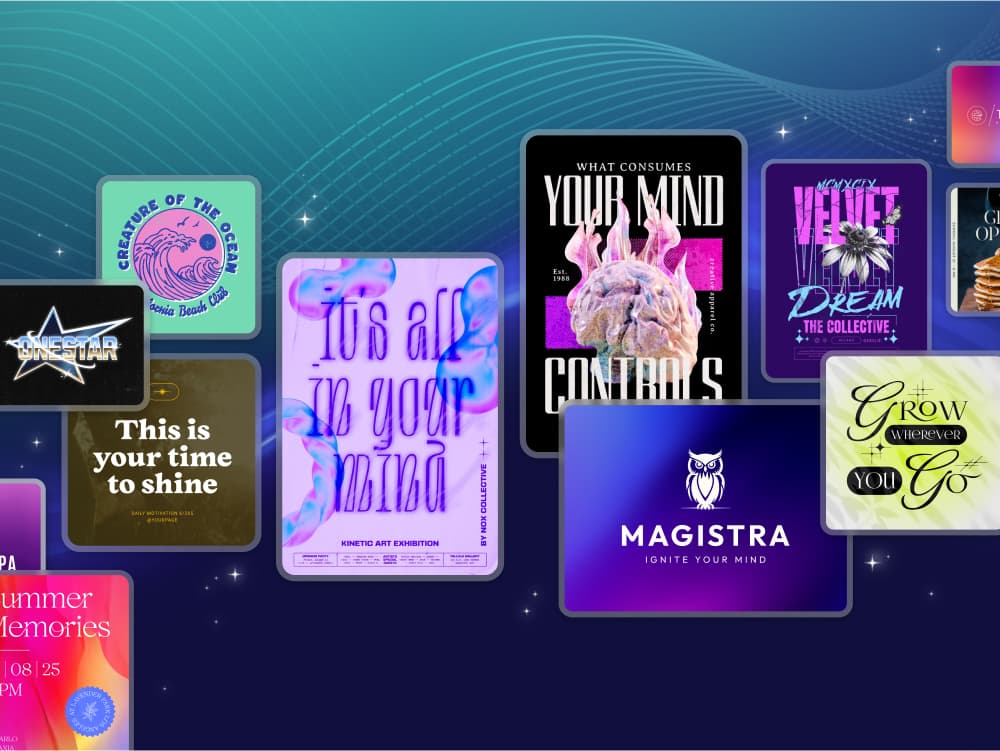
Retro never goes out of fashion. Today, retro style is still going strong, especially in poster designs. If you want to create a genuine retro poster that looks like it came from the ’80s, Kittl can make the process easy.
You won’t need advanced graphic design skills or to spend hours creating posters. Kittl has everything you need, from the right elements to the best tools. Don’t have Kittl yet? You can sign-up for free and grab Kittl to get started with your ’80s retro poster design. Follow this tutorial on how to create an ’80s retro poster design.
1. Create a Poster Artboard
Open the “Settings” menu by clicking the gear icon in the top right. Choose “Poster Big” from the artboard size list. Change the orientation to portrait.
Choose a color from the “Background Settings” menu on the right. We went with a deep purple background – a great pick for the retro-style poster.
Next, create a frame around your artboard. Grab a square from the “Basic Shapes” section in the “Add Elements” menu. Increase the size of the square so that it covers the entire artboard. Then, go to “Object Settings,” select “Border Weight,” increase it to 100 and turn the object color off. Change the border color to a cream-white shade.
Make sure to label the active layer as “Frame” to find it easily later.

2. Add Text and Effects
Click on the text tool in the left sidebar or press “T” on your keyboard. Since we’re going with a space theme, we’ll write “Space Cowboy.”
Enter “Space” first and choose the HT Modern Hand Sans font. This is a variable font, meaning you can change its properties without manually adjusting font size or letter spacing. In this case, we increased the width to 100.
You can also increase the Border Weight to around 10 and set the border color to a slightly lighter shade of purple. The base text color should be set the same as the background.
Now we’ll insert some text effects manually. Duplicate the text and drag the copy a bit beneath the original. Repeat the process one more time. Next, we’ll create a fade effect by manipulating the opacity of different copies of the text. Set the uppermost text to the lowest opacity and the bottom copy to the highest.
For the word “Cowboys,” insert the text and change it to the Mr Dafoe font. We’ll widen the text to match the width of “Space” and position it just below the first word. Then, apply a shading effect and adjust its offset and angle. We’ll also apply the “Fading Color Cut” from the “Decoration” section and adjust its color to a shade of gold.

To access the settings for variable fonts, click on the “Variable” option next to the font drop-down list. All available settings will be listed in that menu.
3. Grab Stunning Retro Elements
The first elements we’ll use will be from the “Abstract” tab in the “Add Elements” menu. The “Memphis” collection has a lot of ’80s stock photos, so it’ll be perfect for this project.
We took a pink half-circle with stripes, rotated it by 90 degrees, and placed it in the middle of the canvas. Then we duplicated the element, flipped it, changed its color to black, and joined it with the first half to create a full circle. Finally, we lowered the circle to make it look like it’s emerging from the bottom of the canvas.
The next element will be an image of a rocket. You can find such images by searching the “Add Elements” menu for “Rocket.” Insert the rocket over the circle and change its colors to white.

4. Insert a Rainbow Color Effect
We want to create a massive rainbow on the right side of the graphic. To do that, we’ll start with a rectangle from “Basic Shapes.”
Make the rectangle thinner and taller, from the tail of the rocket to “Cowboys.” Then, create five more copies of that first stripe and place them one next to the other. To create a rainbow, change the color of each strip. We made them in red, orange, yellow, green, blue, and purple.
To make the rainbow stay in the background, select all stripes, right-click, and choose “To Back.” Then, take each stripe and drag its lower edge up to shorten it. Each stripe should be shorter than the previous one.

You can determine which element is more in the front through the right-click menu. You can bring the element one layer up or down or push it to the top or bottom.
5. Add a Smoke Effect and Planets
Since we’re going with the space theme, we’ll need some planets in the graphic. Search “Planet” in the “Add Elements” menu, and you’ll get plenty of great images from which to choose. We inserted several planets and changed their colors to match the rest of the design.
You can browse cloud images for the smoke effect. Again, search “cloud” in the elements menu. Insert several clouds and color them creamy white. Then, align the clouds at the bottom of the artboard and set it to the back.
If you want more variety, you can use different clouds – just make sure they’re all the same color.
Finally, we’ll create fire coming out of the rocket’s exhausts. For this, we’ll use a simple trapezoid shape which we’ll flip vertically, change the color to match the background, and align it with the exhaust. Of course, we’ll repeat the same for both exhausts.

6. Insert Custom Images
If you want to insert some high-resolution images, Kittl makes this extremely easy. Go to “Photos” in the left sidebar, and you’ll see the selection of trending photographs. Then, search for “Space” to get some amazing photos for the background.
Insert the space stock photo. It will cover the rest of your graphic, but don’t worry – we’ll make it blend in a moment.
In “Object Settings” on the right, go to “Blending Mode” and choose “Soft Light.” This will make the photo blend in with the rest of the elements and look like it’s coming from the background. To make sure the photo isn’t going over any important elements like the rocket or clouds, check the “Layers” section.
You’ll see all layers, including the photo, at the top of the list. Rename that layer to “Photo” to keep track of it, then drag it below the clouds and rocket layers, as well as any other layers you don’t want to be covered.
This is why you should rename each new layer as soon as you add it to the graphic. With different names, you’ll be able to manipulate the layers at any point.

7. Wrap Up With Texture
Choosing the right texture will give your poster the final touch. We chose one of the Paper textures from the “Textures” menu. Then, we set it to “Overlay” and changed its opacity to about 43.
Once you’re done setting up the texture, click on “Release Texture” to create a layer.
We repeated the same process for another texture. We chose a grain texture and adjusted its opacity. Finally, we wrapped up the project by inserting a star on top of the “S” in “Space.”

Of course, you can keep customizing your retro poster and get more creative. Play around with Kittl and see how you can easily design and make your ’80s retro poster even more unique.

Related articles

Tutorials
How to make a modern floral logo
Simple yet elegant, modern floral logos are the perfect way to show off your sense of style. A scrip...

Vintage
How To Make A Retro Sunset Logo Design
In this video, we're making a logo for an outdoor tour company that takes inspiration from old-fashi...

Vintage
How to Create an ’80s Retro Poster Design | Design Tutorial
Retro never goes out of fashion. Today, retro style is still going strong, especially in poster desi...