Templates
Tools
Learn
Company
Home
Blog
Tutorials
Easily Make Badge Logo Layouts With Kittl | Design Tutorial
Easily Make Badge Logo Layouts With Kittl | Design Tutorial
Badges can make everything more interesting. Whether it’s for a hat, shirt, or backpack, this simple design element adds a unique stamp, becoming a must-have detail. The same goes for digital media like websites or even e-books. It seems like every design can benefit from badges.
Yet, regardless of its appeal, the simple badge is still a small element that requires work to get right. There are many choices to make. For instance, will it be rectangular, hexagonal, round, or another shape? What color will dominate the badge? What about lettering and images?
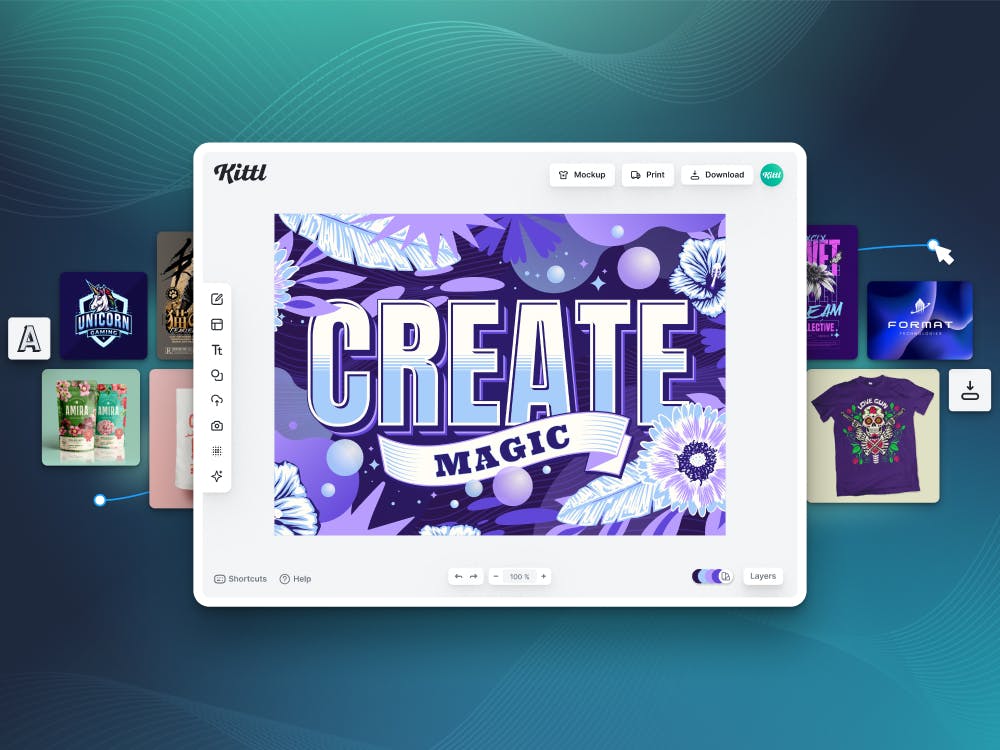
When you take all that into account, creating a badge might suddenly seem like more trouble than it’s worth. But just as with many other designs, Kittl comes in to save the day. In fact, the online graphic design app does most of the heavy lifting, offering you a wide variety of badge elements. All you need to do is put them together.
This tutorial will show you how to do just that. Follow the steps, and you’ll be able to create great-looking badges with Kittl in a matter of minutes. If you need to check out Kittl to follow along with the tutorial, you can do that right now and sign-up for free.
1. Open a New Project in Kittl
Of course, you’ll start by creating a new Kittl project. This will be your canvas moving forward. The process for opening a new project is quite straightforward, like most actions in Kittl. You’ll need to sign up and choose “New Project” from the main page. If you’re working with Kittl for the first time, you won’t even have to do that – the app will open up a project for you automatically when you create your account.
Once you start the project, you can use the gear icon at the top right to enter the settings. Here, you can toggle the grid on or off, change image orientation (portrait or landscape), and adjust the size of your canvas. Since we’re doing a badge design, you won’t need to tweak these settings for this particular project. Still, it’s good to know what options are available before you even start designing.

2. Pick a Logo Badge
The next step in creating your badge design will be to choose a badge shape. With Kittl, you won’t have to create a shape by drawing lines, circles, or rectangles. Instead, you can use one of over a hundred pre-designed badge shapes already present in the app.
To choose a badge, go to the left sidebar and click on “Elements.” The “Add Elements” menu will show up. You’ll see a search bar and four buttons – Shapes, Ornaments, Illustrations, and Abstract. You’ll already be on the “Shapes” page, which is precisely what you need.
Different collections will be represented in the large space below the buttons. Scroll down until you find the “Badges” section. Once you get there, click on the arrow on the right to expand that section.
You’ll see the page fill up with badge templates. Now, all that’s left to get started is to choose a badge shape you like and click on it. As soon as you do that, the shape will appear at the center of your canvas – you won’t see it immediately since the “Badges” section will be covering the canvas. However, as soon as you close the menu, you’ll find your selected badge right where you want it.
For this project, we selected four badge types: a tombstone, a hexagonal shape, a circle, and a pentagram with a curved top. We went with different shapes to showcase how you can insert other elements into a badge in Kittl regardless of the basic form you’re working with.

When you insert any element in Kittl, you can move it around the canvas by clicking and dragging. We used this simple technique to spread our four shapes across the canvas.
Designing a Circle Badge
Since the circle is the most basic of the four shapes we selected, we’ll start with that badge.
1. Changing the Colors
The first thing we wanted to do was simplify the colors on our circle.
This process is very simple: Once you select the circle, you’ll see the “Object Settings” menu on the right. “Object Color” will be the topmost option, and you’ll see three small circles right beneath. The reason why there are three color options is that the circle badge actually consists of three sections.
The first section is the center and the outermost edge of the circle. The second is the space between the two elements that make up the first section. Finally, the third section consists of two lines that run inside the second section. You can adjust the color of these three sections by clicking on the corresponding option under “Object Color.”
For this project, we chose deep shades of blue for the first and second sections, and white for the lines.

2. Add Text
Next, we wanted to insert some text. You can find the text function in the left sidebar. As soon as you click on the text icon (third from the top), you’ll see a text box appear in the center of your selected shape – in this case, the circle badge.
We went with the Red Rose font and made it bold. Then, we went to “Transformation” in the right-side “Text Settings” menu and chose the “Circle” effect. We stretched the text to fit between the two white lines. Finally, we changed the text from the default to “Georgia Ducks.”
After that, we copied the text, flipped the copy, and positioned it at the bottom of the circle. We changed the copied text to “Football Team.” We also made sure to leave some space between the top and bottom texts.
On the left side, we inserted “ESTD” between the “G” from “Georgia Ducks” and the “F” from “Football Team.” On the right, we copied “ESTD” and changed it to “2022.” You’ll notice that we made both “ESTD” and “2022” upright. You don’t need to pull any special tricks to change the orientation of your text – simply make the text box narrower and taller, and the letters will fall under each other automatically.
Finally, we added another text field in the middle of the badge and chose the Monogram font. This font is amazing because it combines any two letters you type into a single symbol – a monogram. We typed in “DG” and resized the monogram to fill up the center of the circle.

Info Box: You can customize every text even further by picking different options from the “Text Settings” menu. For instance, choosing a different kind of serif will give a new look to your monogram.
Designing a Curved Pentagram Badge
Moving onto a more complex shape, we decided to design the curved pentagram next.
1. Choosing the Colors
We’ll again start with the colors. You can access the color settings for the curved pentagram the same way you did for the circle. This time, you’ll see four smaller circles, indicating that the shape has four sections.
For this project, we decided to go with a darker pastel green for all sections except the fourth one, which consists of two parallel lines running the diameter of the badge. Those we left in black.

2. Inserting Text and Graphics
For the central text, we chose the Old Butchery font and wrote “Farside” in all caps. We placed the first word between the two vertical sides and increased it to cover most of that space. However, we left some room for another word right beneath “Farside.”
Next, we copied the first word, changed the font to Red Rose, and wrote “Philadelphia,” again in all caps. We decreased the second word and dragged it into the space we left beneath the first one.
Finally, we copied “Philadelphia,” applied the “Circle” transformation to the copy and placed it to match the upper curve of the badge. We changed this text to “Coffee Roasters.” Then, we duplicated that text, changed the copy to “Always superior quality,” and tweaked it so that it fits beneath “Coffee Roasters.”
To fill in the empty central space, we went to the “Add Elements” menu, searched for “Coffee,” and found a great-looking image of a cup of coffee. We placed it in the empty space and changed the cup color to the same shade of green as the rest of the badge.
To top off the design, we added some wreath-like floral decorations behind the cup. We found those in “Add Elements,” under “Illustrations,” and in the “Meadow Flowers” section. The only piece of the badge left empty was the bottom part, which we filled with some stars.

Designing a Hexagon Badge
The third shape we turned into an interesting badge was the hexagon. This one was an interesting choice because of its double symmetry.
1. Changing the Colors and Adding the Central Text
Like the previous badge, the hexagonal model will have four colors to represent four sections. Once again, we simplified the colors, choosing an orange-red shade for all sections except the last one, which we left black.
Once the colors were set up, we inserted the central text piece in HT Modern Hand Sans font. We typed in “Moto” and changed the text to bold.

2. Inserting Additional Text
As in the previous examples, we copied the central text and changed its content and font. This time, we typed in “Jack’s,” used the Pacifico or Stamp fonts, and dragged the new text above the central one.
We copied “Moto” once again, changed it into “Portland,” resized the text, and placed it beneath “Moto.” Then, we made another copy – this time of “Portland” – changed it to “Oregon,” applied the “Circle” transformation, and put the new word beneath “Portland.”
Similar to the circle badge, we inserted “ESTD” on one side and “1992” on the other side of “Jack’s.”
Finally, we added some effects to “Moto.” We created a thicker border and left it black, while we colored the body of the letters to match the rest of the badge. Then, we added a Block Shadow and adjusted its offset and angle.
We topped off the design by placing two lightning icons on either side of “Portland.”

Creating a Tombstone Badge
Our final design will be a tombstone shape. You’ll see that, despite its name, the badge won’t look sad or morbid – we’ll give the shape a completely different meaning.
1. Recoloring the Shape
By now, you’re probably accustomed to this step. And indeed, we’ll follow a similar pattern for this design as for the previous ones. The tombstone badge template has four colors, three of which we’ll change into a nice shade of yellow. This time, we won’t leave the fourth color black. Instead, we’ll change it to dark green.

2. Adding Text and Imagery
The first text we added was “Mount Jord.” We wrote it in HT Modern Hand Serif and colored it the same shade of green as the fourth badge color. Then, we applied the “Circle” transformation and dragged the text to the top of the tombstone. We increased it so it covers roughly the span of the top arch.
Next, we inserted new text, this time in Brookfield font. The new text was “Camping.” We made this text much larger and placed it near the bottom of the badge. Beneath it, we inserted a smaller line of text reading “RV Sites Available.”
We placed “ESTD” between the “M” of “Mount” and the “C” from “Camping.” Then, we wrote “1967” on the other side of the badge.
Finally, we inserted an icon of a hiker, which we found by searching for “Hiker” in the “Add Elements” menu. We also threw in some four-pointed stars for good measure and colored all these elements green to match the text.

