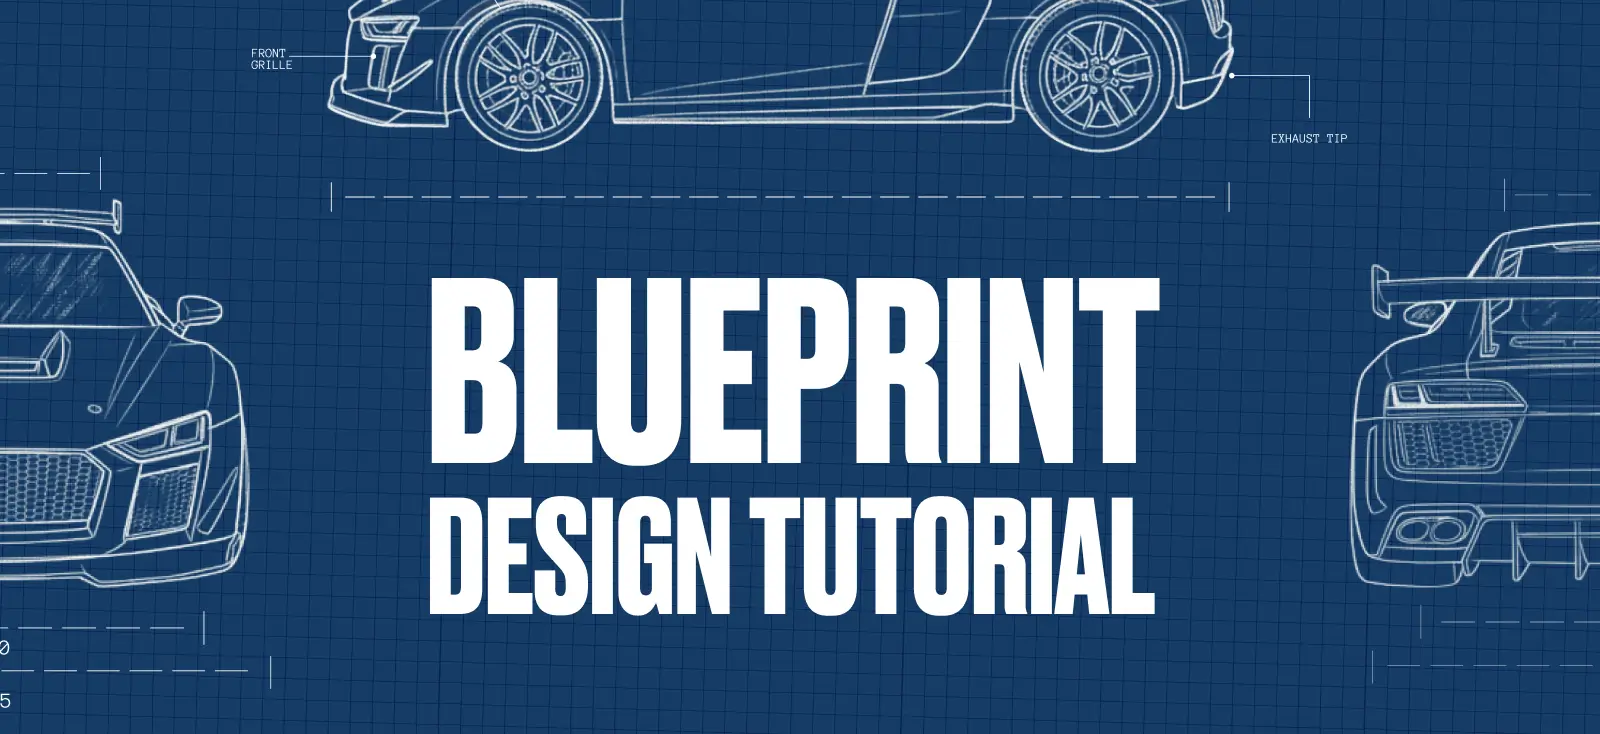
Traditional blueprint drawings required CAD software, technical drafting skills, and hours of perfectly measured linework.
Designers had to sketch orthographic views, trace outlines, and annotate every detail by hand. It used to be a whole operation.
With Kittl Flows, you can create that same engineered blueprint look in minutes using simple one-line prompts.
Yes, seriously. One line.
Type a few words and Nano Banana handles the outline style, the angles, and the clean blueprint structure for you.
Pair that with Kittl’s Blueprint Builder template, and you get an authentic blueprint layout without touching a single drafting tool.
In this walkthrough, you’ll use the Kittl Flows Blueprint Builder (Car Blueprint) template as your starting layout and generate blueprint-style views of any product using SIX unbelievably simple prompts.
What is blueprint design (and why it’s suddenly everywhere)?
Blueprint graphic design takes the look of classic engineering and architectural drawings.
Thin white lines on deep blue backgrounds, exploded views, and tiny labels, and turns it into a full‑blown aesthetic for posters, menus, merch, and branding.
Kittl’s own trend report and deep‑dive article describe blueprint design as deconstructed illustrations, mono fonts, connector lines, and strict two‑color palettes that make even everyday objects feel technical and intentional.
You’re basically over‑explaining something as a style choice:
- A sandwich broken into labeled layers
- A sneaker with callouts for each material
- A coffee brew guide with step‑by‑step “diagram” visuals
That’s where Kittl shines: it gives you vector tools, type, and AI features so you can turn normal objects into blueprint‑style graphics.
Why Kittl Flows is perfect for blueprint‑style graphics
Kittl Flows is Kittl’s AI pipeline feature. You connect Smartboards into a sequence so each step can transform your design: new styles, layouts, and compositions, while still understanding your original idea.
Instead of generating a single blueprint image and calling it a day, Flows lets you:
- Start from a sketch, icon, or finished design
- Generate multiple blueprint versions with a single click
- Chain those into poster → T‑shirt → menu → social graphic
- Keep iterating without redrawing everything from scratch
As the Kittl team puts it, Flows takes a starting point and turns it into “a bunch of creative variations in seconds.” And yes, that includes matching sets of elements!
That’s perfect for blueprint design, where you often want:
- Several angles of the same object
- Dark/light variants
- Multiple formats (A3 posters, square social posts, apparel prints)
Important! Before you begin, define your product blueprint vision
If you are building a product blueprint from scratch instead of starting with a template, it helps to clarify the direction before you open Kittl.
Begin by deciding what you want to blueprint. Choose an item or process with identifiable parts that will translate well into outline form. Common options include:
- Food items like ramen bowls, burgers, or cocktails
- Objects such as sneakers, guitars, gaming controllers, or cameras
- Processes like coffee brewing, a skincare routine, or a simple tech stack
Next, think about where your blueprint will appear, since this influences how much detail you need:
- Posters or art prints, which give plenty of room for multiple angles
- T-shirts or hoodies, where bolder, simplified forms work best
- Menus, packaging, or infographic slides that benefit from clean grids and labeling
Finally, decide how technical you want the blueprint to feel. Some creators prefer a playful tone with minimal labels and more illustrated charm.
Others lean into a utilitarian aesthetic with tighter grids, thin connectors, micro-text, and strict spacing, similar to the blueprint style described in Kittl’s design trend guide.
Before moving on, write down a few labels or descriptors you might include, such as:
- “Grip texture”
- “Signal path”
- “Front grille”
- “Brew chamber”
- “Cooling vents”
Having 4 to 6 labels ready will help guide your prompts and make your final blueprint feel intentional, structured, and authentic.
Step 1: Open the Kittl Blueprint Builder template

Let’s say we would like to create a car blueprint template. To get you started, let’s test the waters with the official Kittl Blueprint Builder template here:
This template already includes the blueprint paper look, grid spacing, annotation areas, and classic navy-and-white styling.
These visual traits are also outlined in Kittl’s blueprint trend article, which explains why blueprint aesthetics rely on thin white lines, deconstructed views, and structured spacing.
You will use this exact template as your frame and replace the placeholder car graphics with your own product views.
Step 2: Add an image of your product

Import a clear photo, 3D render, mockup, or AI-generated image of your product. This might be your actual item, a prototype, or an inspiration piece.
If your image has a background, remove it using Kittl’s AI Background Remover (or the remover inside the Editor) for a clean starting point.
Your product should now sit cleanly on its own artboard, ready for Kittl Flows.
Step 3: Convert your product into blueprint-style white outlines

Attach a Smartboard to your product artboard and set the model to Nano Banana, which Kittl highlights as its high-clarity model for precise line-based AI transformations.
Use this simple one-line prompt:
“Convert this toy into hand-drawn outlines, no color.”
This creates the pure white-line blueprint look. Keeping the prompt short preserves the authenticity of traditional blueprint strokes. The phrase “no color” forces Nano Banana to simplify the image into clean outlines.
If the outlines need refinement, regenerate until you get crisp detail.
Step 4: Make the outlines white and set the background to blueprint blue

Once the outline version is ready, adjust the color style. By prompting it directly inside Flows
“Make the color white chalk and the background blue.”
This pairs your AI outline with the signature navy blueprint paper look.
Step 5: Generate extra views with simple angle prompts

Blueprint sheets typically show multiple angles. With Kittl Flows, each angle can be created using a single one-line prompt. Duplicate your Smartboard to keep the style consistent, then use prompts like the above view:
- “Change the angle to side view”
- “Change the angle to front view”
- “Change the angle to top view”
Each prompt generates a new artboard with a different angle of your product in the same blueprint style. This follows Kittl’s recommendation for consistent Smartboard chains by using the same model and near-identical phrasing.
Keep only the clearest views and convert them into images.
You could also use specific numbers to direct your product angle like “change the angle to 3/4 view” or “rotate this by 38 degrees” like the example below.

Rhinobot Toys Kittl Flows: Blueprint. Edit template.
Step 6: Generate close-up blueprint parts using short descriptive prompts

If you want blueprint callouts of specific car parts, you can prompt Nano Banana directly:
- “Show front grille only”
- “Show only spoiler”
This is one of the strengths of Kittl Flows. Since it reads your original product image, it can focus on a specific region when you prompt it.
For accuracy, it helps to look up correct part names. Using the precise term makes the AI produce a closer match.
Close-up blueprint views work beautifully in the Kittl Blueprint Builder template because the layout includes small zones for details and annotations.
Step 7: Export your final product blueprint

Once everything is arranged:
- Export as a PNG or JPG for posters
- Export as a transparent PNG if it’s going on a shirt
- Export as a smaller JPG for social media graphics
Negative space, clean alignment, and organized callouts are what make blueprint layouts readable and iconic.
So you might want to add a title (Anonymous Pro is a great font choice for Blueprint graphics), grid references, and size notes for an authentic engineering feel.
This arrangement works great as a poster and also makes a surprisingly cool T-shirt!
Step 8: Try the workflow with any product

Tank Blueprint Builder Template. Use Template

Table Blueprint builder Template. Use Template

Mechanical robot blueprint builder. Use Template

Sandwich Blueprint Template in black. Use Template

Toy Robot Blueprint Builder Template. Use Template

Sandwich Blueprint Template in pink. Use Template
This one-line-prompt method works with absolutely anything: shoes, headphones, controllers, cameras, drinks, toys, furniture, or sci-fi props.
It also aligns with the utilitarian, diagram-heavy blueprint trend in Kittl’s 2026 predictions.
The template gives you the layout, Nano Banana gives you the blueprint outlines, and you give the design meaning through labeling and arrangement.
FAQ: Product blueprints using Kittl Flows and simple prompts
1. Can this technique work with any product?
Yes. As long as the product has a clear silhouette, Kittl’s AI Background Remover can isolate it cleanly and Nano Banana can convert it into blueprint-style outlines. This workflow applies to cars, consoles, shoes, cameras, tools, or any object you want to visualize.
2. Do I need illustration or CAD experience to create a product blueprint?
No. The entire blueprint effect comes from simple one-line prompts inside Kittl Flows. Nano Banana handles the outline conversion, angle changes, and stylistic consistency. Your job is to place the generated views into the Blueprint Builder layout and add labels.
3. What if one of the angles looks different from the others?
Duplicate your original Smartboard and adjust only the angle prompt, such as “change the angle to side view.” Keeping the same prompt structure is the key to matching line style and proportions across all views.
4. Can I generate close-up blueprint parts too?
Yes. Use short descriptive prompts like “show only front grille” or “show only spoiler.” The more accurate your terminology, the more precise the close-up blueprint view will be.
5. Can I reuse the same Flow for future products?
Absolutely. Replace the image in your starting artboard and rerun the exact same Smartboard chain. You’ll instantly get a new set of blueprint views in the same style, which is ideal for maintaining consistent product lines or collections.
6. Does this work without the Product Blueprint Builder template?
Yes, but the templates make you do your layout faster. It provides the blueprint background, grid structure, spacing, and annotation areas. Flows creates the blueprint images, and the template frames them so the final design looks authentic.
7. Can this be used for merchandise?
Definitely. Blueprint layouts make great wall posters, product one-sheets, and T-shirts. Once your views are inside the template, export a high-resolution PNG or transparent PNG, depending on your print needs.
8. Do I need Kittl Flows to make product blueprint designs?
No. you can make blueprint graphics manually using Kittl’s vector tools, fonts, and templates. Flows just accelerates variation and lets you build whole sets of matching assets.
9. Is Kittl Flows free?
Flows is currently part of Kittl’s subscription plans and uses AI tokens for generations; the beta announcement explains the different token tiers and notes that output quality can be tuned over time.
10. Can I use these product blueprint designs for commercial projects or POD?
With a Kittl Pro or Expert plan, you can export high-resolution, watermark-free files that are fully licensed for commercial use — perfect for client projects, brand work, and print-on-demand products.
Kittl’s licensing policy confirms that paid users receive commercial rights to sell designs and AI-generated assets, with generous distribution limits. This aligns with the workflow shown in our T-shirt tutorials, where users export print-ready artwork for POD fulfillment.
11. How is this different from using Canva or Adobe for product blueprint style?
Canva and Adobe Express have great templates, but they don’t yet offer a Flows‑style pipeline that chains AI steps together. Kittl focuses more on advanced typography, vector editing, and AI‑powered iterations, which reviewers highlight as a key differentiator.
Key takeaway: How to create a product blueprint in Kittl Flows
- Drop a console or product photo into a new Kittl artboard, whether you are designing a poster, shirt graphic, or product sheet.
- Use AI Background Remover to isolate the product in one click so Flows can interpret the silhouette cleanly.
- Add a Smartboard to start a Kittl Flow and connect the product image to your AI transformation.
- Prompt the Smartboard with a simple one-liner to create the classic blueprint look, such as a navy background and white outline styling.
- Add additional Smartboards to generate extra angles in the same blueprint style, including side view, opposite side view, and back view.
- Return to your main artboard and arrange all the views into a clean grid, then add labels for features, parts, buttons, or ports.
- Export your finished product blueprint as a high-resolution file for shirts, posters, mockups, or digital posts.
Transform every product blueprint into a standout visual with Kittl Flows
Blueprint design no longer belongs only to engineers or CAD software.
With Kittl Flows, you can turn any product into a crisp, technical-style visual that feels intentional, premium, and instantly memorable.
The combination of one-line prompts, Nano Banana’s clean outlines, and ready-made blueprint layouts gives you a workflow that moves at creative-speed while delivering production-quality results.
It works for merch, client presentations, packaging concepts, product reveals, and even quick inspiration boards.
When you are ready to push your ideas further, Kittl’s library of Creative Flows templates offers a head start for any style or category. Browse the full collection, open a template with one click, and build your next product blueprint even faster.