Ever been five minutes away from posting a promo and realized your graphic looks… kind of basic? You don’t have time to overthink it, but you still need it to look good.
Text behind object is one of the design tricks that instantly makes a post feel more polished, even when you’re working fast. You’ll see it all the time in fashion drops, music promos, and modern brands because it looks intentional without being complicated.
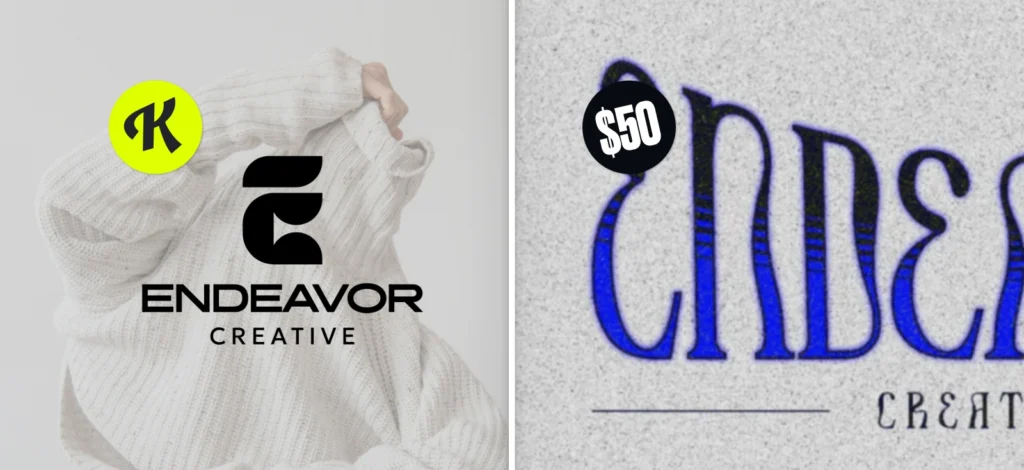
When text sits behind a product or a person, the design immediately feels more put-together. A clothing post starts to look editorial. A coffee or skincare promo suddenly feels premium, even if it’s just a simple image and one word.
The best part? You don’t need to spend 30 minutes masking layers in Photoshop. With tools like Kittl’s background remover, you can build this text behind image layout in under three minutes — perfect for last-minute social posts, promos, or announcements.
We’ll show you exactly how.
What does “text behind object” mean in design?
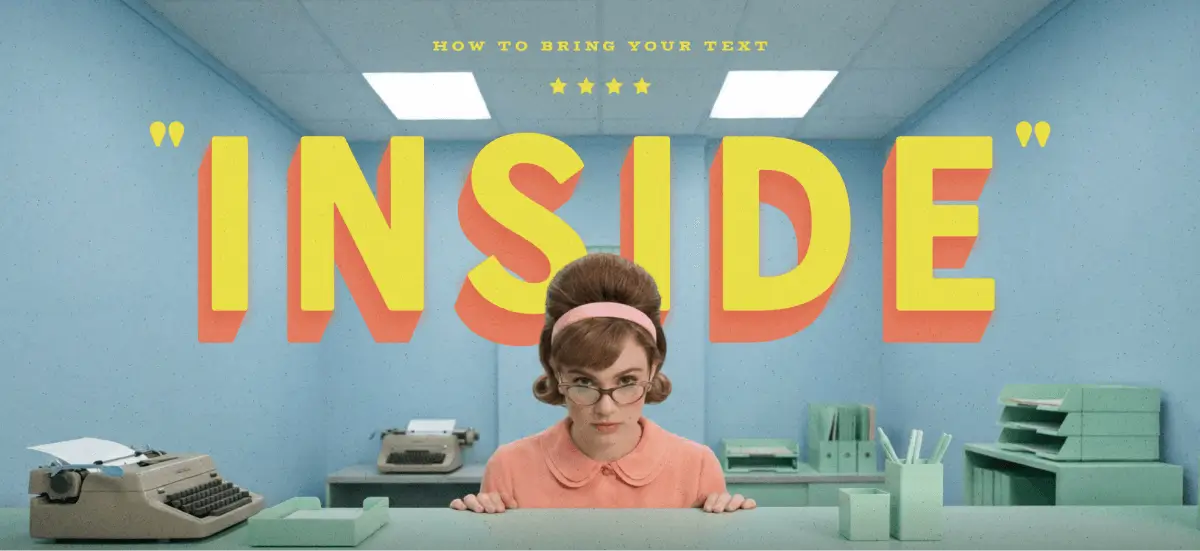
Text behind object is a design technique where text is placed behind a subject in an image, like a person, product, or object, so the text appears partially hidden. Instead of sitting on top of the image, the text becomes part of the layout.
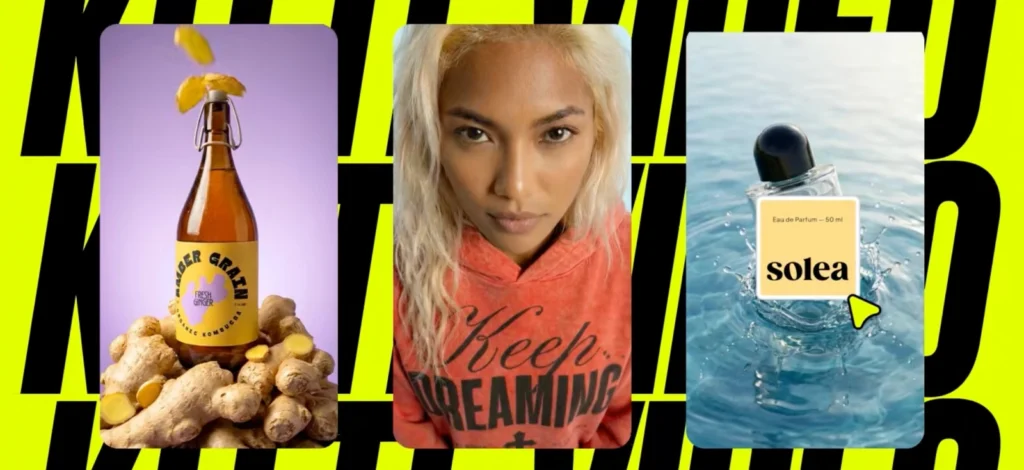
You’ll commonly see text behind image effects in posters, branding visuals, social media graphics, and merch designs.
It’s an easy way to add depth and make a design feel more intentional without making it look busy.
5 steps to faster text behind object workflow using Kittl
Traditionally, creating a text behind an object effect means doing manual masking in Photoshop. You duplicate layers, carefully cut around the subject, and stack everything in the right order.
It works well and gives you full control, but it also takes time, especially if you’re doing this often.
This is where faster workflows come in. With tools like Kittl’s background remover, you can skip the most time-consuming part:
1. Choose an image with a simple subject

Pick a photo where the subject or object is clearly separated from the background.
2. Duplicate the image and remove the background from the top copy

Duplicate the image with CTRL+C (click here for more Kittl shortcuts). Then, remove the background of the image from the top layer. The subject or object should be the only thing left on that layer.
3. Align and scale the cut-out to match the original image

Stretch and position the background-removed subject so it lines up perfectly with the original image underneath. At this point, it should look like a single image even though it’s made of two layers.
4. Add your text behind the subject

Insert your font (something perfect like HT Modern Hand Sans) and a short word or phrase (one word works best for readability). Place the text between the two image layers so it sits behind the subject.
5. Fine-tune for readability

Adjust font weight, letter spacing, color, and add subtle effects like shadow if needed to make the text readable without overpowering the image.
If your text is partially hidden behind an object, avoid matching the text color to the subject itself. Instead, contrast the text against the background area it overlaps. This keeps the word readable at a glance and improves accessibility, especially for viewers scrolling quickly or viewing on smaller screens.
How does placing a text behind image in Kittl save time?
Manually masking a subject in Photoshop can take several minutes per image, especially around edges like hair or complex shapes. Using instant background removal skips that entire step, letting you focus on layout and typography instead of technical cleanup.
This workflow is especially useful when you’re creating content often — social posts, thumbnails, promos, or product visuals — where speed matters just as much as quality.
You get the same text behind object look by speeding up your process.
Key takeaways: How to create text behind image

If you’ve ever looked at a design and thought, “I want that clean, layered look, but I don’t have time to fight with Photoshop,” this is exactly why the text behind image effect works so well.
It’s one of those techniques that looks high-effort but is actually pretty simple once you know the trick. Simply:
- Pick an image with a clear, simple subject
- Duplicate the image and remove the background from the top layer
- Align the cut-out so both image layers look like one
- Add one short, bold word, then left click and pick “send to back” so the text sits between the layers
- Adjust contrast and spacing
Once you’ve done this once, you’ll realize how easy it is to repeat. Promos, social posts, thumbnails, and even product visuals start coming together faster.
Use Kittl today to keep the process simple, so your designs look polished while cutting down a few steps.