


Templates
Tools
Learn
Company
Home
Blog
Tutorials
DIY Cricut Heat Press T-Shirt Tutorial
DIY Cricut Heat Press T-Shirt Tutorial
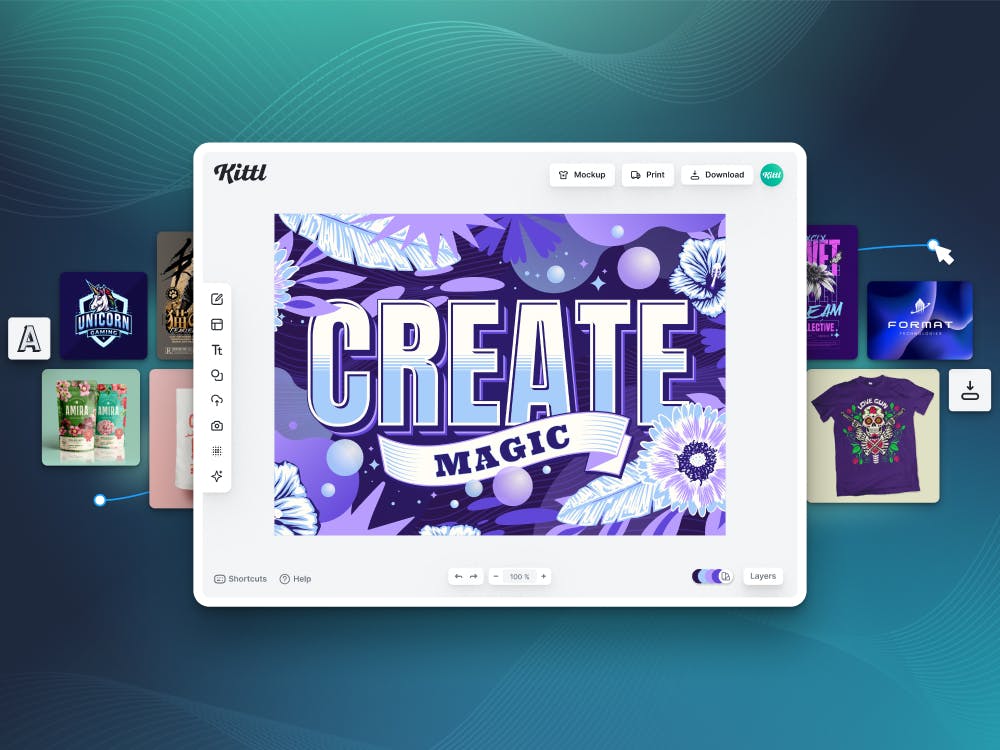
How do you make an excellent t-shirt design using Kittl, Cricut, and a heat press?
That’s the question we’re going to answer in this tutorial. If you have an awesome t-shirt design waiting in the wings, this tutorial will show you how to prep that design and what you need to do to get it onto a t-shirt.
We’re going to show you how to size the image so that it looks great and what you have to do to print it out. Plus, we cover how to use a heat press to transplant your design onto a t-shirt so you have a one-of-a-kind shirt that stands out from the crowd.
But before we jump in, you need to get your hands on Kittl. You can sign up for free today to start creating some stunning designs using the software’s built-in array of elements and tools. You’ll also need a Cricut cutting machine, the Cricut app, and access to a Cricut heat press.
Have you got everything you need? Then, let’s jump into the tutorial.
Step 1 – Export Your Design for Cricut
We’re going to assume that you already have a design in Kittl. First, you have to get rid of that image’s background. Select the image and head into the “Background Settings.” Select the color orb and click the circle with a cross through it. You’ll find the circle to the left of the horizontal color gradient.

Now that you’ve gotten rid of the background, drag your cursor over your image to select it. You may need to make the image a little bigger to ensure it’s the right size for your shirt. Use your cursor to expand the image until you’re pleased with it.
Next, head to the “Download” icon in the top-right corner of your project. It’s the third icon from the left. Turn “Optimize Quality” on and raise the DPI to 300. Then, click the “PNG” button and download a PNG image file containing your design.

Step 2 – Upload Your Design to Cricut Design Space
Head to https://design.cricut.com/ and open a Design Space in Cricut. If you don’t already have the Cricut app, you’ll need to download it before you can get going. Once you’ve logged into Cricut, click the “New Project” button.

This opens a new project page. Click “Templates” from the navigation menu on the left and select “Classic T-Shirt.” A t-shirt template showing the front and back of the shirt opens up in the Cricut design space.

Now, you need to upload your design. Click “Upload” from the menu on the left and either drag and drop your PNG image file or navigate to it via Cricut. You should see your image file appear under “Upload Image.” Click on “Moderately Complex,” as we assume your image doesn’t have any complicated fine details or blended colors. If it does, you may have to select “Complex.”
Cricut takes you to a screen titled “Select Upload Type.” Choose “Cut Image” because you’re not ready to print yet. Clicking that will take you back to your t-shirt template. Only now, you should see your logo placed on the front of the t-shirt.

Step 3 – Resize Your Design
You may find that your uploaded image file is a little bit too big for the t-shirt template. That’s an easy fix as you can just grab the image’s handles and reduce its size until it fits on the shirt. Spend a little time tweaking the image to make sure it’s centered and looks large enough for what you want from your shirt.

When everything looks good, click the “Make It” button at the top-right of the screen. Cricut will show you what your design looks like on a 12x12 panel.
Here’s the important part.
Make sure you activate the “Mirror” option. You need to mirror your image if you’re going to place it on a piece of cloth, like a t-shirt or a tote bag. Click the “Continue” button when you’re ready to move to the next step.

Step 4 – Cut Your Vinyl Design
After clicking “Continue,” Cricut takes you to a screen where you can set the basic settings for your t-shirt. Choose “Everyday Iron-On” and select “More” from the “Pressure” drop-down.

That’s about it for your settings. Now, load your vinyl into your Cricut machine and let it do its thing. It took about three or four minutes to cut our image completely, though yours may take more or less time depending on the image’s complexity.
Step 5 – Weed Your T-Shirt Design
Carefully remove your vinyl and take your time with weeding the design. We like to use a little utility knife to weed properly. It took us about 10 minutes to weed our design. Again, depending on your design’s complexity, you may take more or less time.
Pay particular attention to the small parts in between letters. A little slip up there and you end up with a flaw that you’re going to notice every time you wear your new t-shirt.

Step 6 – Use the Cricut Heat Press to Apply Your Design
Now that you have your weeded design, it’s time to press it onto a t-shirt. Cricut comes through again with a heat press that’s specially designed for use with its vinyl. If you don’t have a heat press, you can get one from the Cricut online store.
Prep your shirt on a flat surface and use a roller to pick up any stray lint and any other small fibers that may interfere with your design. Use the roller on your design too, making sure that it’s as clean as possible.
Next, you’ll use the Cricut Heat Press Guide to choose the settings for your machine. Select “Everyday Iron-On” from the “Heat-Transfer Material” drop-down menu and select your “Base Material.” Our shirt was 100% cotton, but check yours to make sure you choose the right material setting.

Scroll down and you should see instructions for what it’s going to take to apply your design to your shirt. These instructions vary depending on the materials you’re using. For our project, we needed to preheat our shirt for five seconds before pressing it for 30 seconds at a temperature of 315 degrees Fahrenheit.
This screen should also give you a set of instructions to follow when using the heat press.

Scroll a little further down and you’ll see more detailed instructions covering how to prepare your heat press and apply your design. These are the instructions you’re going to follow for the rest of the process.

All that’s left is to apply the design. Preheat your shirt for as long as Cricut tells you to, then place your design on top of the heated area. Place your Cricut heat press directly over your design and hold it there for half of the time Cricut says. Then, flip the shirt and hold the press over the reverse side. For us, that meant 15 seconds of heat applied to the design and then another 15 seconds on the reverse.

Step 7 – Complete the T-Shirt Application
The last step is the easiest. Once your shirt cools down, peel the plastic layer away from your design. If you’ve followed the steps correctly, the outer layer should peel off while your design pressed into the t-shirt.
The shirt must be completely cool to the touch before you do this. If it’s still warm, you may end up pulling some of the design off with the plastic layer when peeling. Run one last inspection to ensure there are no design issues and you’re good to go.

Related articles

Print on Demand
Halloween Graphics For Redbubble
Print On Demand stores are super important for holiday shoppers because they can find something cust...

Design
3 T-Shirt Design Rules To Follow
When you are getting into the Print On Demand world and want to start selling t-shirts, there are a ...

Tutorials
Make A 90s Themed T-Shirt Design
In this design tutorial, Drew walks you through creating a 90s retro t-shirt design with a West Coas...